Sterilizing grain for mushroom cultivation is crucial to eliminate contaminants and create a clean environment for mycelium growth. Here’s a step-by-step guide:
- Choose Your Grain: Common options include rye, millet, wheat, or oats. Ensure the grain is high-quality and free from debris.
- Rinse and Soak: Thoroughly rinse the grain to remove dust and impurities. Soak it in water overnight to hydrate the grains.
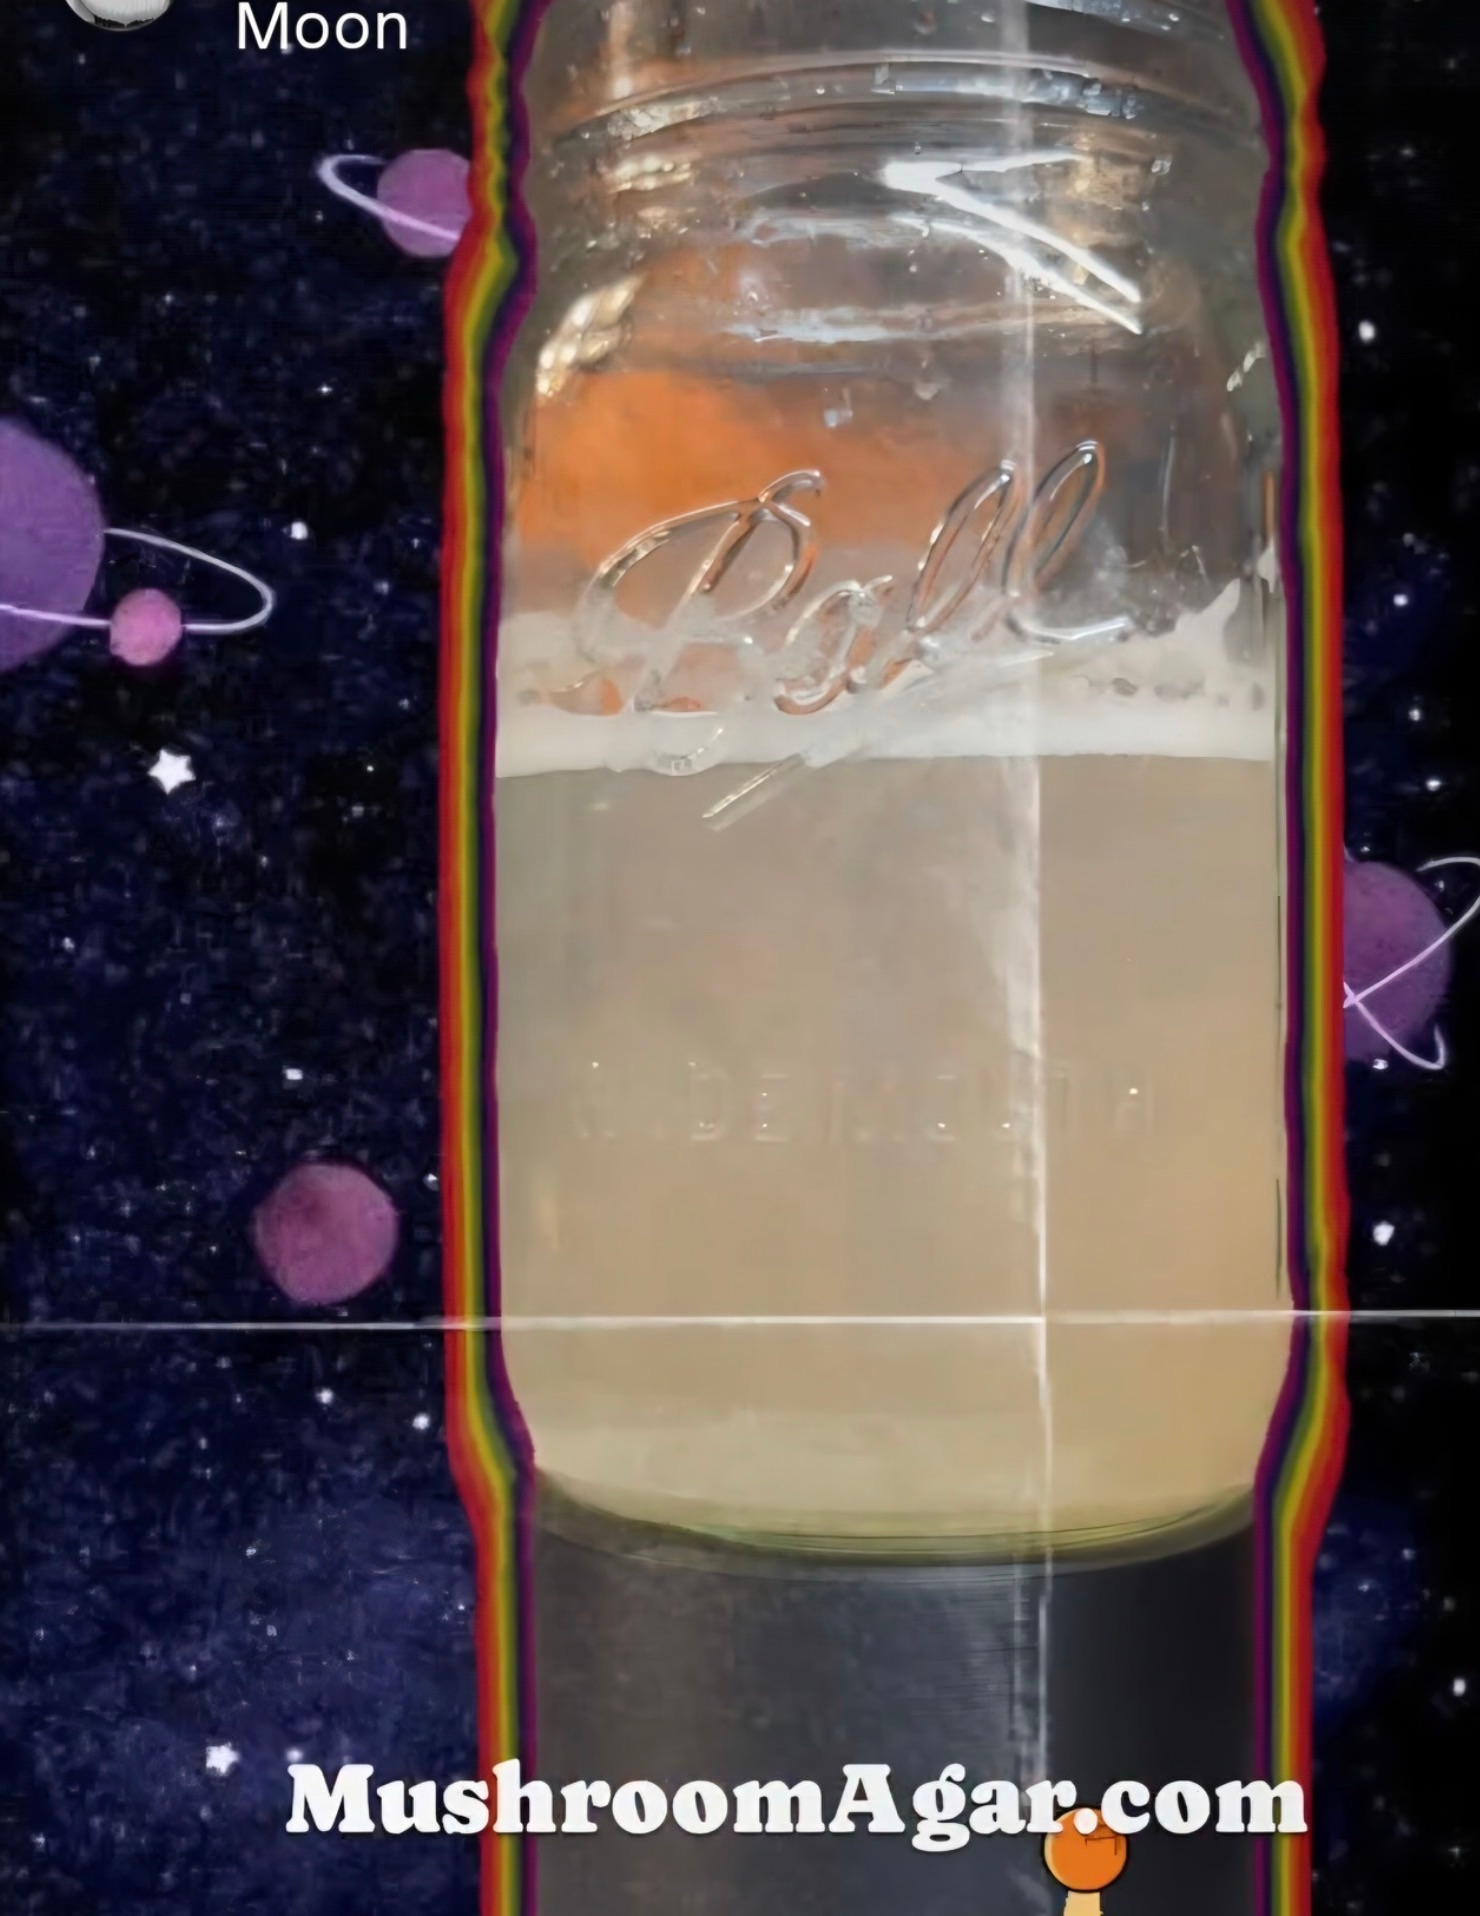
- Drain and Load: Drain the soaked grains and load them into jars or bags, leaving some space at the top for gas exchange.
- Cover and Seal: Cover the jars with aluminum foil or lids fitted with filters (like micropore tape or polyfill) to allow gas exchange while preventing contamination.
- Sterilize: Use a pressure cooker or autoclave to sterilize the grain at 15 PSI for 90 minutes. This high pressure and temperature kill off microorganisms effectively. Ensure pressure is constant during the process.
- Cool Down: Allow the jars to cool inside the pressure cooker before opening it. This prevents contamination during cooling.
- Inoculate: In a sterile environment, introduce your mushroom culture (spores, agar wedge, or liquid culture) into the grain.
- Seal and Incubate: Seal the jars and place them in a warm, dark environment for mycelium colonization.
Sterilization is a meticulous process, but it’s essential for successful mushroom cultivation.